
Ikea in Reverse
A First in Ikea Furniture Assembly

Today was a unique IKEA assembly experience day.
Photo Credit: https://Ikea.com
Anybody who has ever assembled Ikea furniture out of the box knows what a pain in the -ss it can be. I’ve always been amazed at how challenging the assembly instructions are when I try to follow them.
The reason, I surmised recently, was they are written for engineers, not regular people. The guy (lady) who designs instructions manuals has to be an engineer or at least engineering oriented.
This idea came from a discussion with an engineer one day. His response to what I said surprised me. No emotion, mechanical. I can’t remember the topic - doesn’t matter. The takeaway does.
And then I remembered this guy is an engineer and I said to him:
“Oh, I forgot you’re an engineer.” and reframed the discussion to his receptors and dialect. The whole nature of the conversation changed.
Mental note to self for the future: “speak engineer to engineers.”
Smaller sized instruction manuals
And that was before the modern day micro versions of assembly instructions appeared. The kind that are about 8 times the size of a postage stamp after you unfold them.
Back to putting together Ikea stuff.
My first Ikea assembly experience was in Seattle. I bought a storage cabinet that was designed to sit on top of a counter. It was a 6’ long x 4’ tall x 1’ deep rectangle with evenly sized cubicles - maybe 40 in total. The assembly took about three hours. It was pretty straightforward.
Subsequent to that I designed, ordered, assembled and installed two entire Ikea kitchens for a couple of properties in Atlanta, Ga. There have been a variety of one-off Ikea pieces since.
This time was a completely different experience.
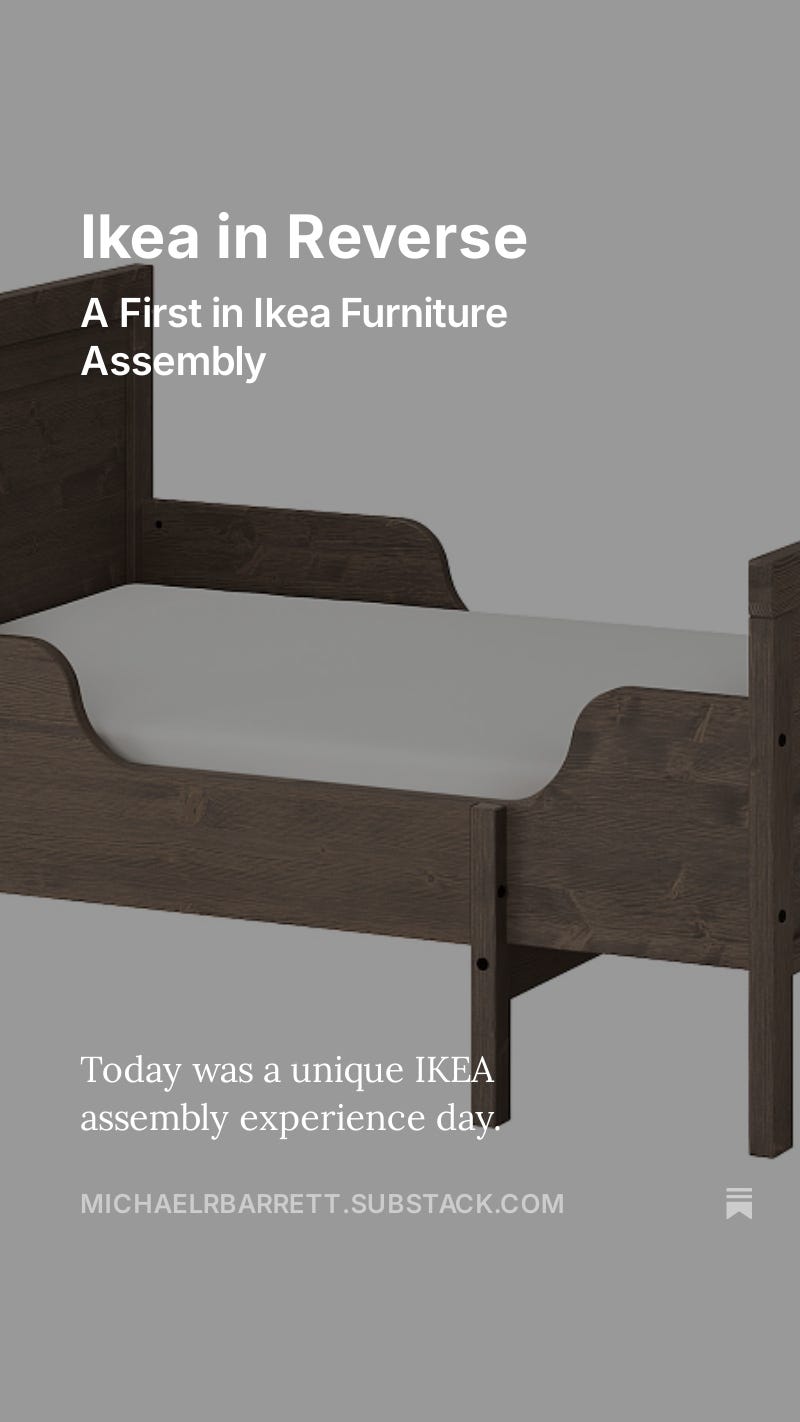
I assembled the bed pictured above.
Unlike other assembly projects, this bed did not come out of a new Ikea box.
Instead, it came out of a barn in Ocklawaha, Fl - a pile of components lying on the floor with a ziplock full of hardware and dowels.
No picture. No instruction manual.
This ought to be fun, I grumbled quietly.
When I got home I proceeded to attempt assembly. Long story short, with seven bed components, it took me 3.5 hours to get it put altogether.
Now that I figured it out, I could probably put it together in 20-30 minutes.
The process was a challenge with no diagrams. I finally found an Ikea emblem with the model number and I Duck-duck go’ed it which gave me an orientation framework.
There was one particular frame component that I got stumped on. I tried all kinds of combinations and finally noticed some dowel holes on the head board that looked similar to the end of the “mystery piece” - wow it fit.
From there it went pretty fast.
As I grew closer to completion, and as I became more familiar with the design of the finished product, it occured to me that the engineering of this piece of furniture was pretty remarkable.
The design creates substantial strength in the bed with these primary considerations:
Vectors: It optimizes vectors.
Torque: This is compounded by multiple layers of 90 degree connection points. The torque created utilizing the 90 degree connectors is pretty astounding when coupled with the vectors.
Considering it was also designed as a “KD”model (knocked down for shipment and optimizing shipping dimensions), it’s quite a good design.
There are several rabbit style cross lap joints as well.
You know what’s crazy?
We got this bed so we could be eligible for a 5th foster child at our residence. Two days after assembly we got the nod for a 6th child (a third sibling to 2 that we already have with us) subject to more bed capacity.
We have another double bunk ordered that will be here on the 19th - to replace the Ikea bed I just assembled.
Assembly without direction or diagrams was a challenge. But it created within me a greater appreciation for IKEA design.
Do you have an IKEA furniture story?
Share it with us.